A lot of apartment projector mistakes start with one bad assumption: if a projector says it can make a 100-inch image, your room can too. That is not how projector throw distance for apartments works. In a smaller living room or bedroom, the real question is not the maximum screen size on the box. It is how far the projector must sit from the wall or screen to produce an image that actually fits your space, your furniture layout, and your daily life.
Why projector throw distance for apartments matters more
In a house with a dedicated media room, you can usually move the projector, run longer cables, or mount it where the math demands. Apartment living is less forgiving. Your sofa may already sit against the back wall. A coffee table may be the only realistic spot for placement. You may not want a ceiling mount, and your lease may not allow one.
That makes throw distance one of the first specs to check, not one of the last. Get it wrong, and you end up with an image that is too big for the wall, a projector sitting in the middle of a walkway, or a setup that only works if everyone agrees not to move the lamp, plant, or side chair.
This is also where cheap projector marketing causes real problems. Many low-end models advertise giant image sizes without clearly showing the distance required to get them. The result is predictable: buyers expect a huge cinematic picture in a compact apartment, then discover they would need to place the projector halfway into the kitchen to make it happen.
What throw distance actually means
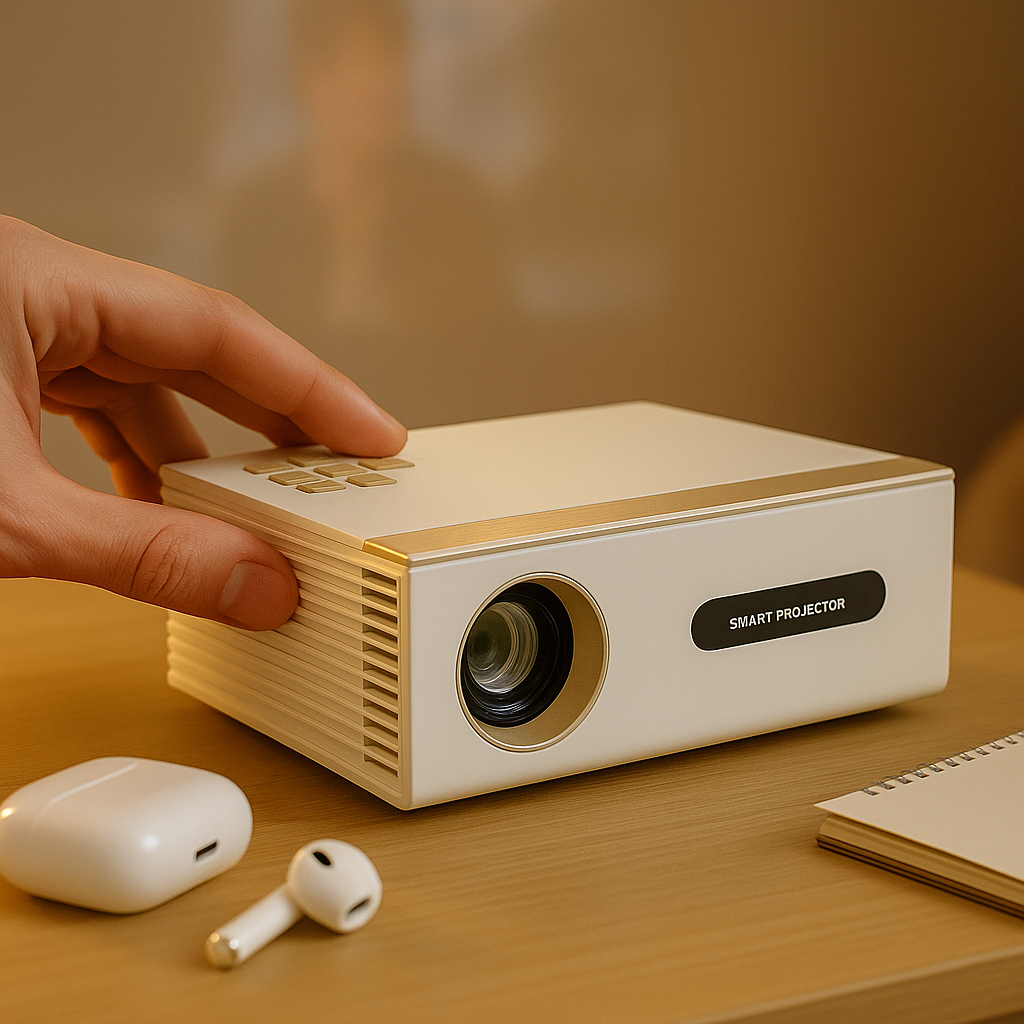
Throw distance is simply the space between the projector lens and the screen or wall. That distance determines how large the image becomes. The farther back the projector sits, the larger the picture gets.
The missing piece is throw ratio. That number tells you how much distance a projector needs for a given screen width. A standard throw projector might need roughly 8 to 10 feet to create an image around 100 inches diagonal, depending on the model. A short throw projector can create that same size image from much closer. An ultra short throw model can do it from just inches away from the wall.
For apartment buyers, that difference is not academic. It is the difference between a clean, near-wall setup and a projector balanced on a stack of books behind the couch.
How to estimate the right setup for your room
Start with the room depth you can actually use, not the total length of the room. This is where people get misled.
If your bedroom is 11 feet deep, but the bed takes up 2 feet of usable projector space and you need another foot for safe clearance, you do not really have 11 feet. You may have 8 feet of practical throw distance. In a living room, a media console, sectional, or open walkway can shrink usable depth just as quickly.
Next, decide the largest image your wall can support comfortably. A 120-inch image sounds great until it overlaps a window trim, heater, artwork, or shelf. In apartments, 80 to 100 inches is often the sweet spot. It feels big without forcing awkward placement.
Then match those two realities - usable room depth and realistic screen size - to the projector type. If you only have 6 to 8 feet, many standard throw projectors will not give you a properly sized image without compromise. That is usually where short throw models start making a lot more sense.
Standard throw, short throw, or ultra short throw?
Standard throw projectors
A standard throw projector works well if your apartment has enough depth and flexible placement. In some living rooms, placing the projector on a rear shelf or ceiling mount can be perfectly practical. Standard throw can also give you more model choices at different price points.
But there is a catch. In apartments, standard throw often means the projector ends up where people walk, where pets can bump it, or where cables become annoying. If you want a temporary setup you can move room to room, that may be fine. If you want a permanent setup that stays out of the way, it is less ideal.
Short throw projectors
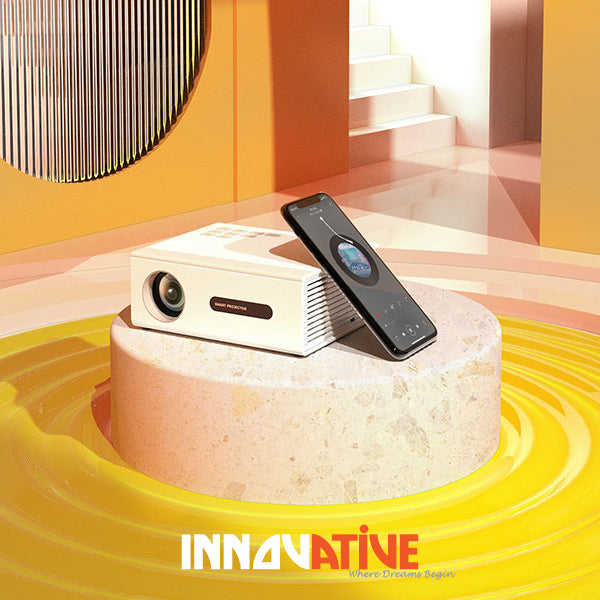
Short throw is often the most apartment-friendly middle ground. You get a large image from a much shorter distance, which helps in bedrooms, shared living rooms, and smaller dens. The projector can sit closer to the wall, reducing shadows when someone walks in front of it and making cable management easier.
This setup is especially useful when the sofa is close to the back wall and there is no elegant way to place a projector behind viewers. A short throw unit on a low table or media stand can solve a lot of layout problems without requiring a full built-in installation.
Ultra short throw projectors
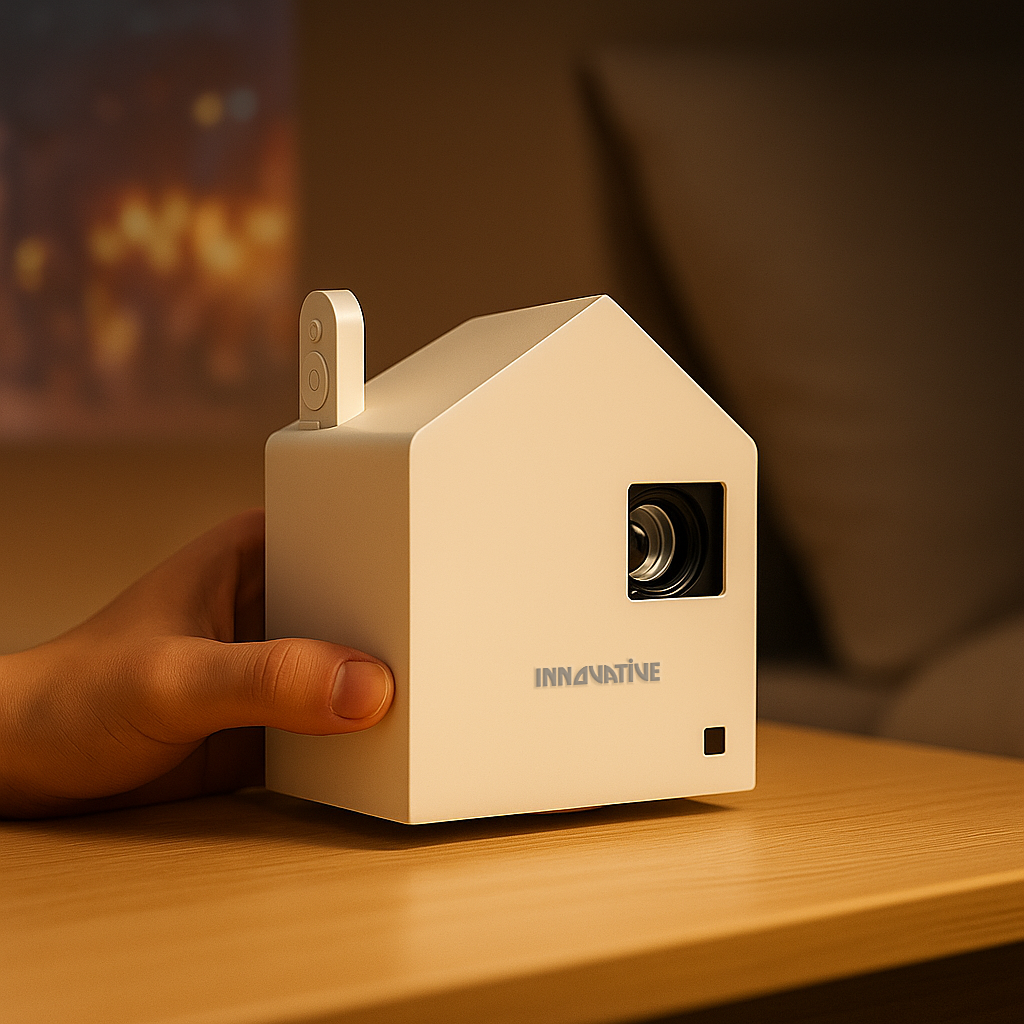
UST projectors are designed for near-wall placement, usually on a cabinet directly below the screen. For apartments, that can be the cleanest answer of all. You avoid long cable runs, avoid ceiling mounting, and keep the projector out of the center of the room.
The trade-off is that UST setups are more demanding about furniture height, screen alignment, and surface flatness. If you are projecting directly onto a slightly uneven wall, image geometry can become frustrating fast. A proper screen usually matters more here, especially if you want a polished result.
The screen size trap in small spaces
Bigger is not always better, especially in an apartment. A giant image in a short viewing distance can feel less cinematic and more overwhelming. You do not want to turn your neck to follow the action, and you definitely do not want text, menus, or subtitles spreading too far across your field of view.
For most apartment setups, comfort matters just as much as scale. If you sit 7 to 9 feet away, an 85-inch to 100-inch image often feels excellent. If you mainly watch movies in a dark bedroom, you might push larger. If you also stream shows, sports, or casual content with lights on, a slightly smaller and brighter image can be the better everyday choice.
That is another reason throw distance should be part of the conversation early. It does not just determine whether the image fits the wall. It affects how usable that image feels every night.
Brightness, walls, and the real-world apartment factor
Throw distance is only one part of the setup. In apartments, ambient light, wall color, and placement flexibility matter just as much.
If you are projecting onto an off-white wall in a room with side windows, image quality will depend heavily on brightness and contrast, not just size. A projector that looks impressive on a spec sheet can still produce a washed-out image if the room is not controlled well. This is where real-world testing matters more than inflated lumen claims.
Short throw and UST models are often chosen for space reasons, but they also pair naturally with dedicated screens and tidy furniture-based setups. If your apartment gets daytime light or has pale walls that bounce light around, the screen can have as much impact as the projector choice.
Apartment placement mistakes to avoid
The most common mistake is measuring wall space but not measuring placement space. A blank wall does not guarantee a workable projector position.
The second mistake is assuming digital keystone will fix everything. It can help, but it is not magic. Heavy keystone correction can reduce image quality, and in small spaces you want the cleanest, sharpest picture possible. A projector that naturally fits the room is always better than forcing one to fit through software adjustments.
The third mistake is ignoring furniture height and sight lines. If the projector sits too low, coffee tables, blankets, or even feet on an ottoman can interrupt the beam. If it sits too high or off-center, alignment becomes a constant chore.
A practical way to choose
If your apartment room has generous depth and you do not mind mounting or shelf placement, a standard throw projector can still work beautifully. If your room is tighter and you want an easier, cleaner setup, short throw is usually the smart choice. If you want the projector to live near the wall like a TV replacement, UST is the premium apartment solution.
That is the framework we push because it reflects how people actually live. At INNOVATIVE Projectors, the best setup is not the one with the most dramatic marketing image. It is the one that fits your room without turning daily use into a compromise.
Before buying, measure the usable distance from the lens position to the wall, think honestly about where the projector will live, and choose your screen size around comfort instead of fantasy. A projector should give you freedom, not a geometry problem.
When the throw distance matches the apartment, the whole experience changes. The setup feels cleaner, the image feels intentional, and movie night stops being a workaround.